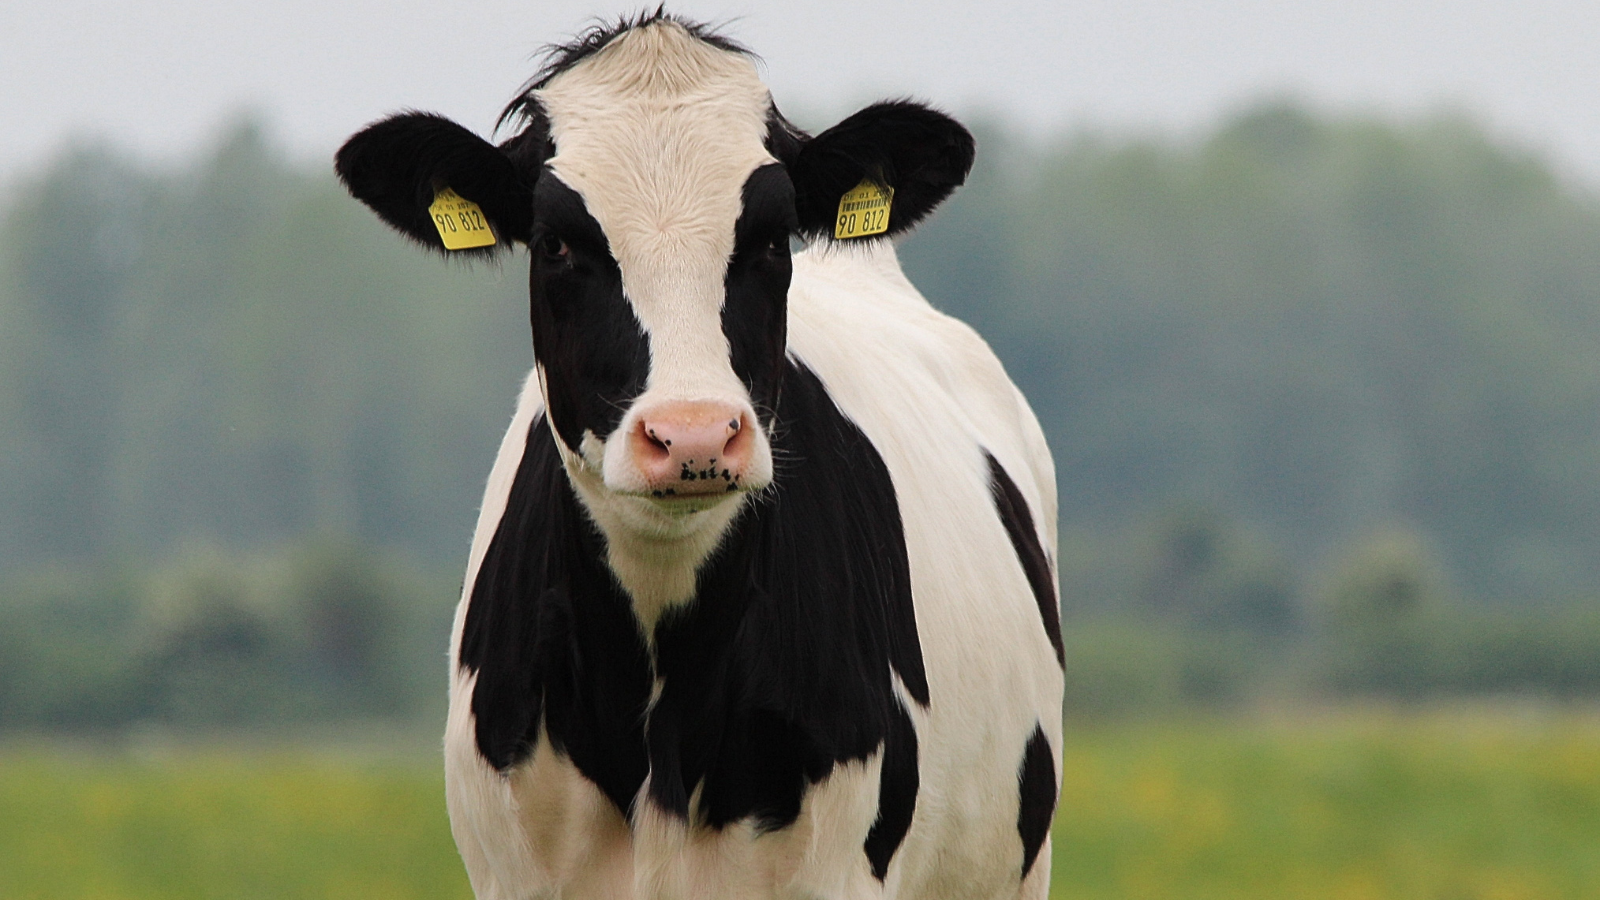
Collecting milk samples from a cow for laboratory analysis is a critical process in dairy farming, veterinary research, and food safety testing. Whether you’re monitoring herd health, checking for contaminants, or conducting scientific studies, the quality of your sample directly impacts the accuracy of your results. Herd Health Management has seen how improper collection techniques can introduce contamination or skew data, so it’s essential to follow a precise, hygienic, and systematic approach. Use this step-by-step guide to ensure you collect milk samples correctly for lab testing.
Why Proper Milk Sampling Matters
Milk is a complex biological fluid, and its composition can reveal a lot— from the cow’s health status to the presence of bacteria, antibiotics, or other substances. Labs often test for somatic cell counts (an indicator of mastitis), microbial load, or chemical residues. Contaminated or mishandled samples can lead to false positives, misdiagnoses, or wasted resources. By adhering to best milk sampling practices, you ensure the sample reflects the cow’s true condition and meets lab standards.
Equipment You’ll Need to Collect the Milk
Before you begin, gather the following:
- Sterile sample vials or containers (provided by the lab or purchased from a dairy supply store)
- Disposable gloves
- Clean, sanitized teat dip or antiseptic wipes
- A bucket or strip cup for initial milk discard
- Labels and a permanent marker
- Cooler with ice packs (if samples won’t be tested immediately)
Make sure all equipment is clean and, where applicable, sterile. Avoid reusing containers unless they’ve been properly sanitized between uses.
Step-by-Step Process for Milk Sampling
Prepare the Cow and Environment
Choose a calm, clean area for milking—preferably away from dust, manure, or other contaminants. Restrain the cow gently to keep her still and reduce stress, which can affect milk let-down. Wash your hands thoroughly and put on disposable gloves to minimize introducing bacteria.
Clean the Teats
Inspect the teats for dirt, manure, or signs of injury. Dirty teats are a primary source of contamination. Use a clean cloth or antiseptic wipe to thoroughly clean each teat, paying special attention to the teat end. Apply a pre-milking teat dip (if part of your protocol) and wipe it off with a dry, clean towel. This step reduces surface bacteria.
Discard the First Milk
Squirt the first few streams of milk from each teat into a strip cup or bucket—not the sample container. This initial milk often contains higher levels of bacteria from the teat canal and is not representative of the bulk milk. Check the discarded milk for abnormalities (e.g., clots, discoloration) that might indicate health issues.
Collect the Sample
Hold the sterile sample vial at an angle under the teat to avoid contamination from your hands or the cow’s udder. Milk directly into the vial, filling it about two-thirds full (or as specified by the lab). Overfilling can cause spillage or interfere with preservatives in the vial. If sampling from multiple quarters (e.g., for mastitis testing), use a separate sterile vial for each quarter and label accordingly. Avoid touching the inside of the vial or cap with your fingers.
Seal and Label Immediately
Secure the cap tightly to prevent leakage or contamination. Label each vial with key details: cow ID, date, time, quarter (if applicable), and any other info required by the lab. Use a waterproof marker to ensure legibility.
Store the Sample Properly
Place the vials in a cooler with ice packs immediately after collection to slow bacterial growth and preserve sample integrity. If samples can’t be delivered to the lab within a few hours, refrigerate them at 35–40°F (2–4°C). Don’t freeze unless the lab instructs otherwise, as freezing can alter certain components.
Tips for Success
- Timing Matters: Collect samples at consistent times (e.g., mid-milking) for comparable results, especially for routine monitoring.
- Avoid Cross-Contamination: If sampling multiple cows, clean your hands and equipment between animals.
- Follow Lab Guidelines: Some labs provide specific instructions or preservatives in their vials—read and adhere to these carefully.
- Record Observations: Note anything unusual (e.g., cow behavior, milk appearance) that might help interpret lab results.
Common Mistakes to Avoid When Collecting a Milk Sample
- Skipping Teat Cleaning: This invites environmental bacteria into the sample.
- Reusing Dirty Vials: Even trace residues can skew results.
- Delaying Cooling: Warm samples degrade quickly, affecting bacterial counts and chemical stability.
Complete Milk Sampling the Right Way with Herd Health Management
Collecting milk samples for lab analysis might seem straightforward, but attention to detail is key. Herd Health Management has seen how a clean, well-preserved sample ensures reliable data, whether you’re tracking herd health, meeting regulatory standards, or contributing to research. With practice, this process becomes second nature—and the insights you gain can make a big difference in dairy management. If you’re new to this and live in Gilbert, AZ or surrounding areas like San Tan Valley or Mesa, book a veterinary appointment to have us collect a sample, or call us about our in-house lab for milk sampling. Happy sampling, and here’s to healthy cows and high-quality milk!

